Master Gardeners: Debugging Plants: Before transitioning them indoors for winter
Published 12:46 am Saturday, November 6, 2021

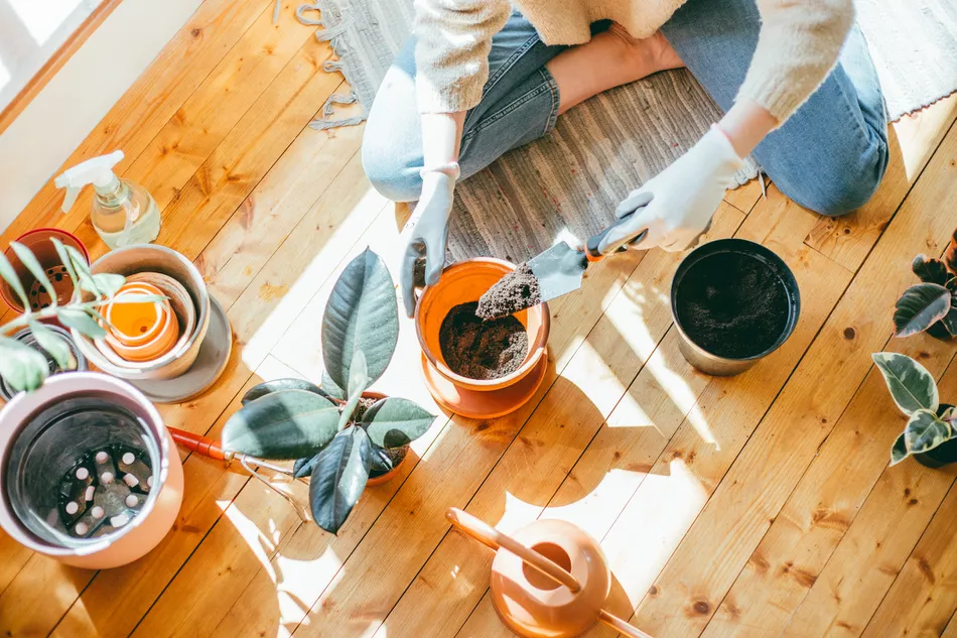
- Visual Space/ Getty Images Helping your plants survive moving back inside requires some debugging.
|
Getting your Trinity Audio player ready...
|
Edited by John Green.
Originally Published by Alexandra Jones
When warm weather comes around, it’s a great idea to bring your sun-loving houseplants outside to your yard, deck, or balcony to catch some extra rays. Once temperatures cool and days shorten, however, you’ll want to bring your plants inside. But this process isn’t as simple as carrying your plants back indoors. You’ll need to help them adjust to the lower-light indoor environment and make sure they’re not bringing any pests, diseases, dead growth, or unwanted dirt in with them.
Here’s how to get your plants bug-free and ready to come inside for the winter, including some tips from plant expert and lifestyle blogger Ren Lenhof.
When to Debug Plants to Bring Indoors
Since our region experiences temperatures below 50 degrees winter, you’ll need to bring potted plants inside. Tropical plants can be damaged at temperatures as low as 45 or 50 degrees, and many succulents can’t survive below 40 degrees.1
Before bringing plants back inside for the winter, clear space for them on windowsills and counters. If you have hanging baskets, add ceiling hooks or plant hangers as needed. It’s also a good idea to clean your windows so that you can maximize the light filtering through.
Start acclimating your plants to the lower-light conditions of your home before temperatures require you to bring them indoors. Begin moving them a little closer to your house each day, in spots with bright, indirect light rather than full sun.
Tools and Supplies You Will Need Before you begin, gather the following materials:
- Gardening gloves
- Fresh potting soil
- Pruning shears
- Rubbing alcohol
- Cotton swabs or balls
- Mild soap like Dawn
- Large bucket or tub
- Scrub brush
- Small strainer with handle
Before Getting Started
When you’re finally ready to bring your plants inside, plan to spend an afternoon (or a day, depending on how many plants you have) getting them ready. Identify any plants that need to be repotted. Use clean, sharp pruning shears to cut back any dead or damaged growth or if it has become overgrown during the summer.
“For your larger plants— such as palms or Ficus, you can clip away any dead or dying branches and leaves, pull out any dead fallen leaves and branches from inside the planter,” Lenhof says.
Quick Tip: Take care to sanitize the shears by wiping the blades down with a cloth or cotton ball soaked in rubbing alcohol between plants.
Step 1: Remove Insects from Soil
Before debugging the aerial portion of your plant, push out any insects that may have burrowed into the soil. Take note that this method only works with plant containers that have drainage holes.
Step 2: Soak Your Plants in Water
Fill a tub or bucket large enough to submerge your plant’s container with tepid water. Soak the container in the water for around 15 minutes to push any pests out of the soil. Remove the pot from the bucket and allow it to drain for an hour.
Step 3: Inspect Each Plant
While the soil drains, inspect the leaves and stems of each plant for insects like scale, aphids, spider mites, or mealybugs. Aphids, which are tiny, light-green bugs, can be washed off with a mix of mild liquid soap and water; the soap will kill the aphids on contact.
Step 4: Check for Spider Mites
Tiny spider mites often form webs on the undersides of leaves but are so small they may be difficult to see. Spray leaves with a hose to remove spider mites, then treat the plant with insecticidal soap to remove any remaining mites. Severely infested plants should be discarded.
Quick tip: Avoid composting infested plants or plant material – always bag the plant material and put it in the trash to avoid spreading pests.
Step 7: Clean Your Pots
Once plants are debugged, clean your pots with a brush and soapy water. Rinse the containers off and let them dry outdoors, then bring them inside. To start, keep them in the sunniest window in your home before gradually moving them to their usual indoor spot over the next few weeks to help them acclimate to the lower light conditions indoors.
Step 8: Continue Care as Usual
Keep an eye on soil moisture and monitor the leaves and stems for signs of pests. If pests return, treat as described above to remove them.
If you have gardening questions, please contact Orange County Master Gardeners:
Website: https://txmg.org/orange
Facebook: Orange County Texas Master Gardeners Association
Orange County Master Gardner Helpline: (409) 882-7010
Email: extension@co.orange.tx.us


