OrangeYouBold: Always ask to mat or not to mat
Published 12:04 am Wednesday, April 28, 2021
|
Getting your Trinity Audio player ready...
|
Hello beautiful people. I had nothing better to do this week except challenge my sanity. Insert sarcasm.
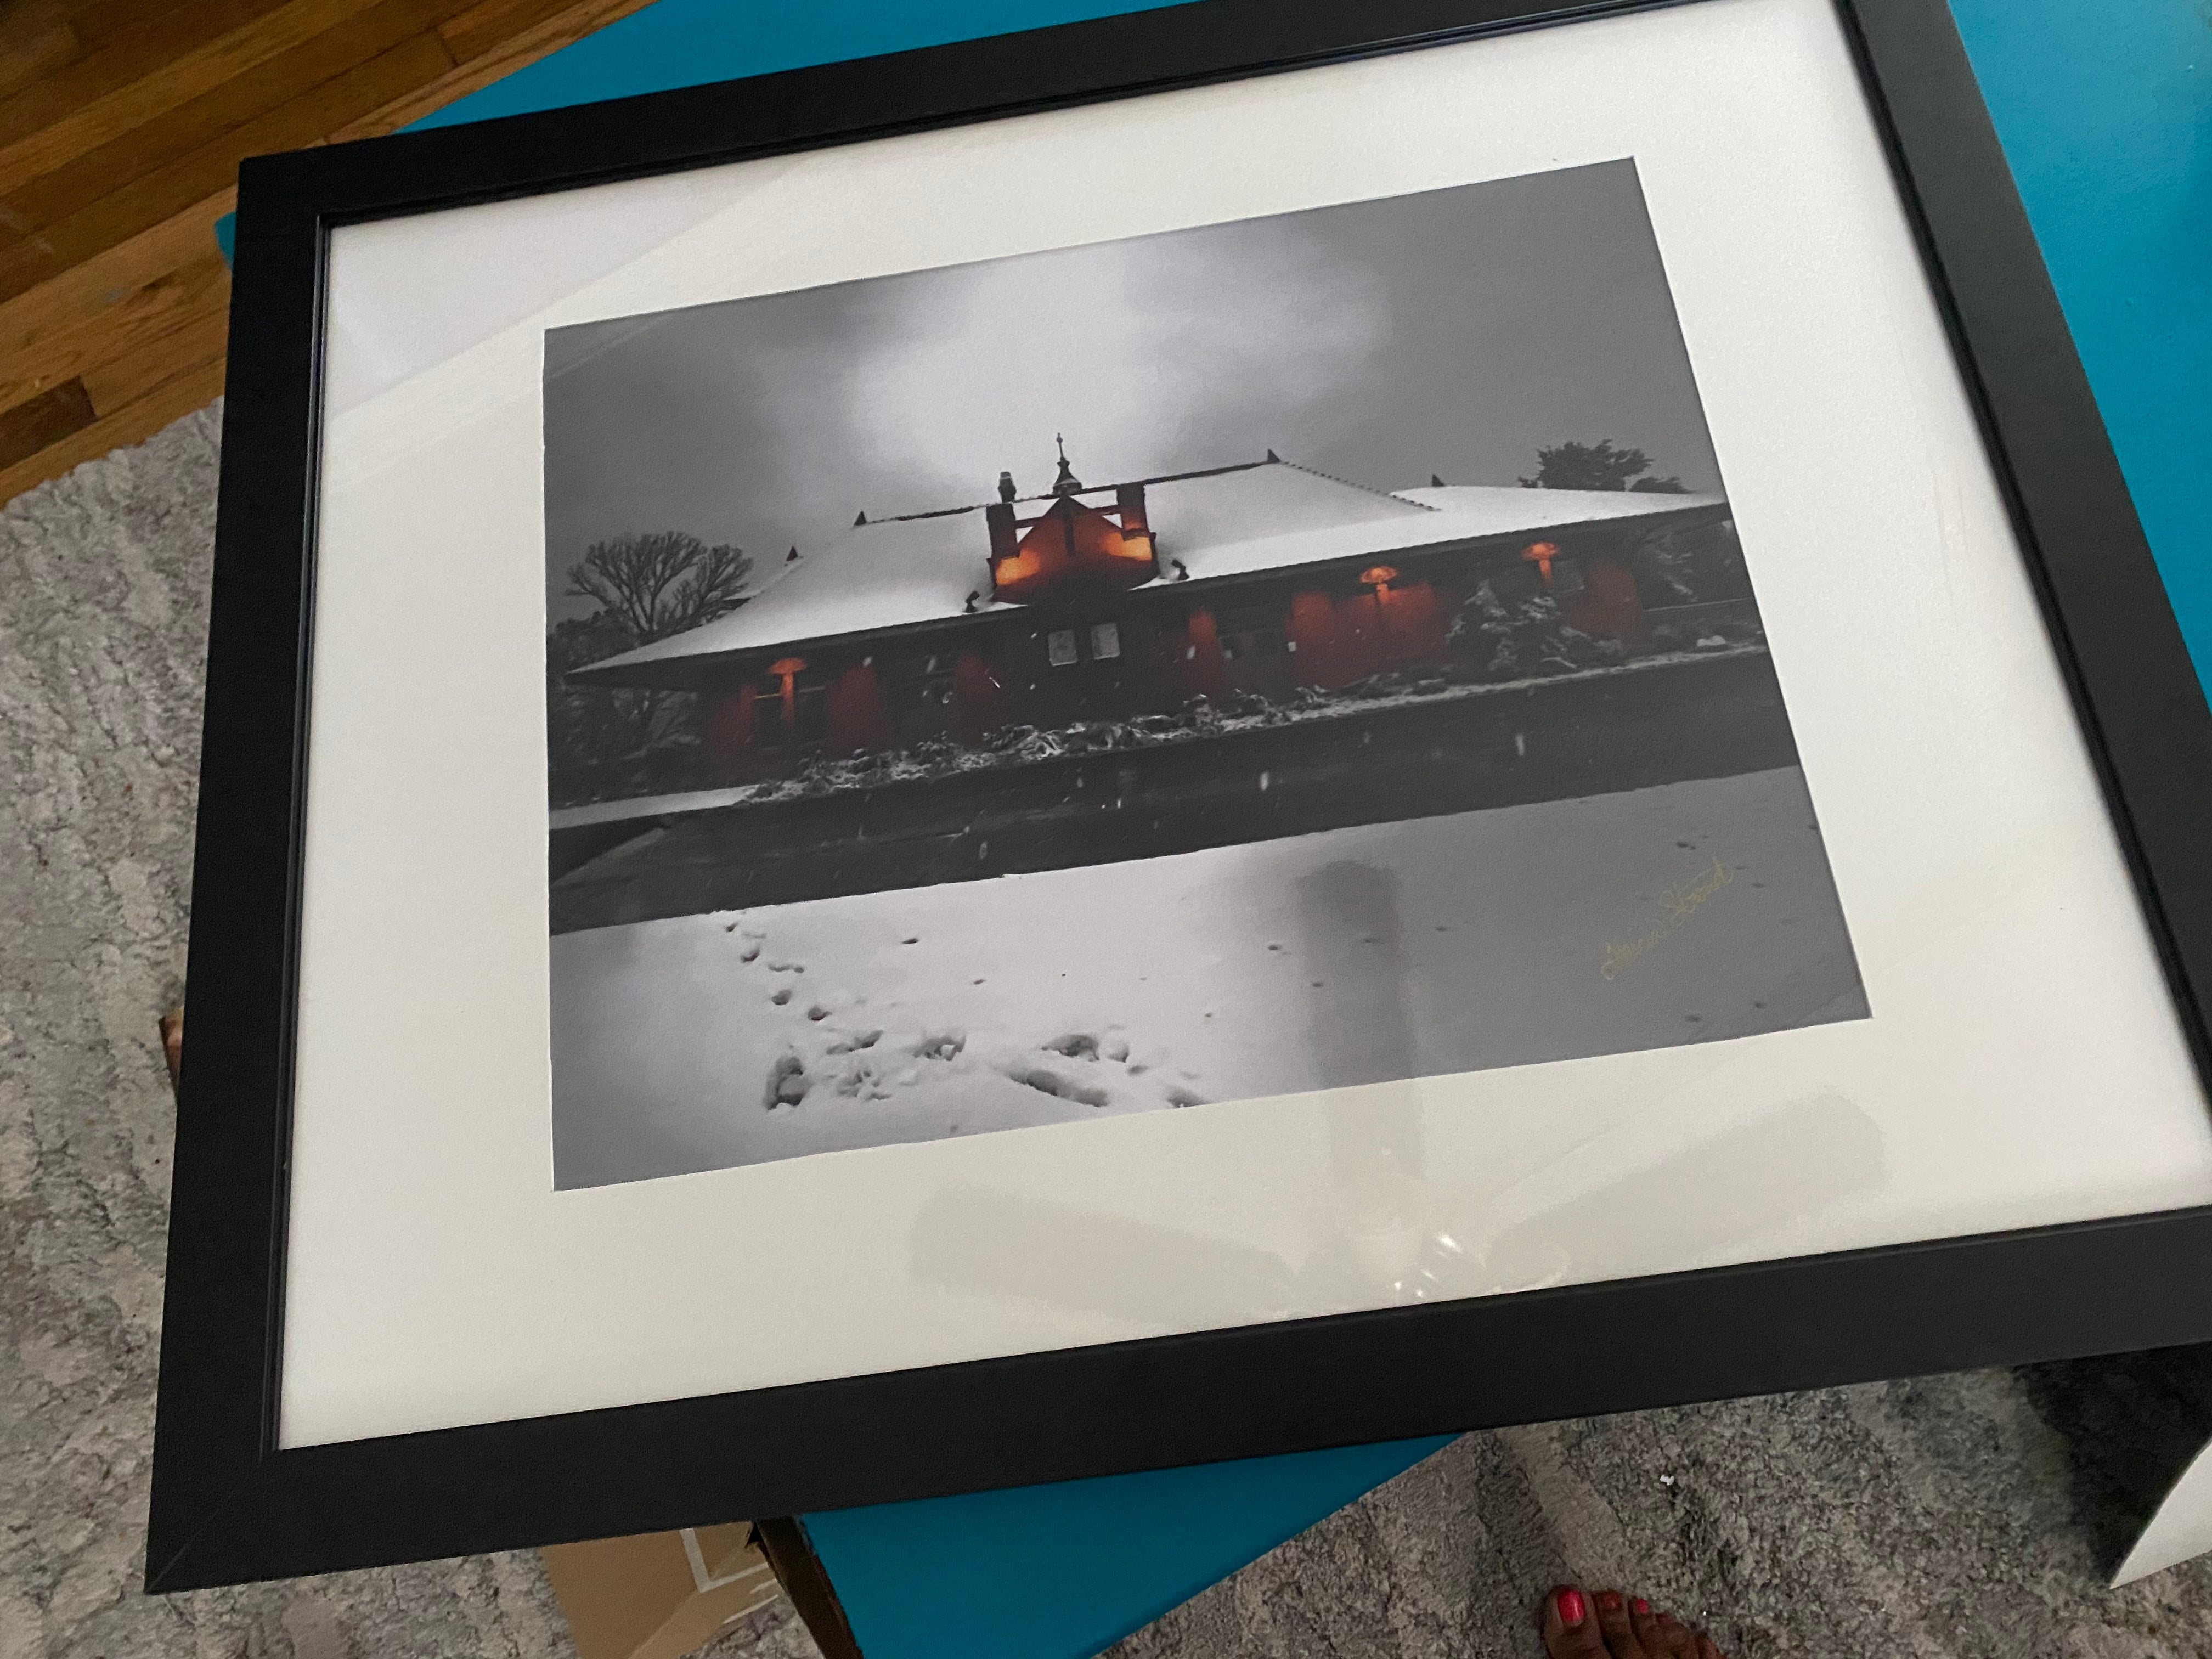
As many of you know, I am a professional photographer. You may have seen my snow collection of Orange, Texas in this fabulous paper. Nevertheless, I have an image of the Train Depot that my husband loves. He wanted me to hang one in his man cave.
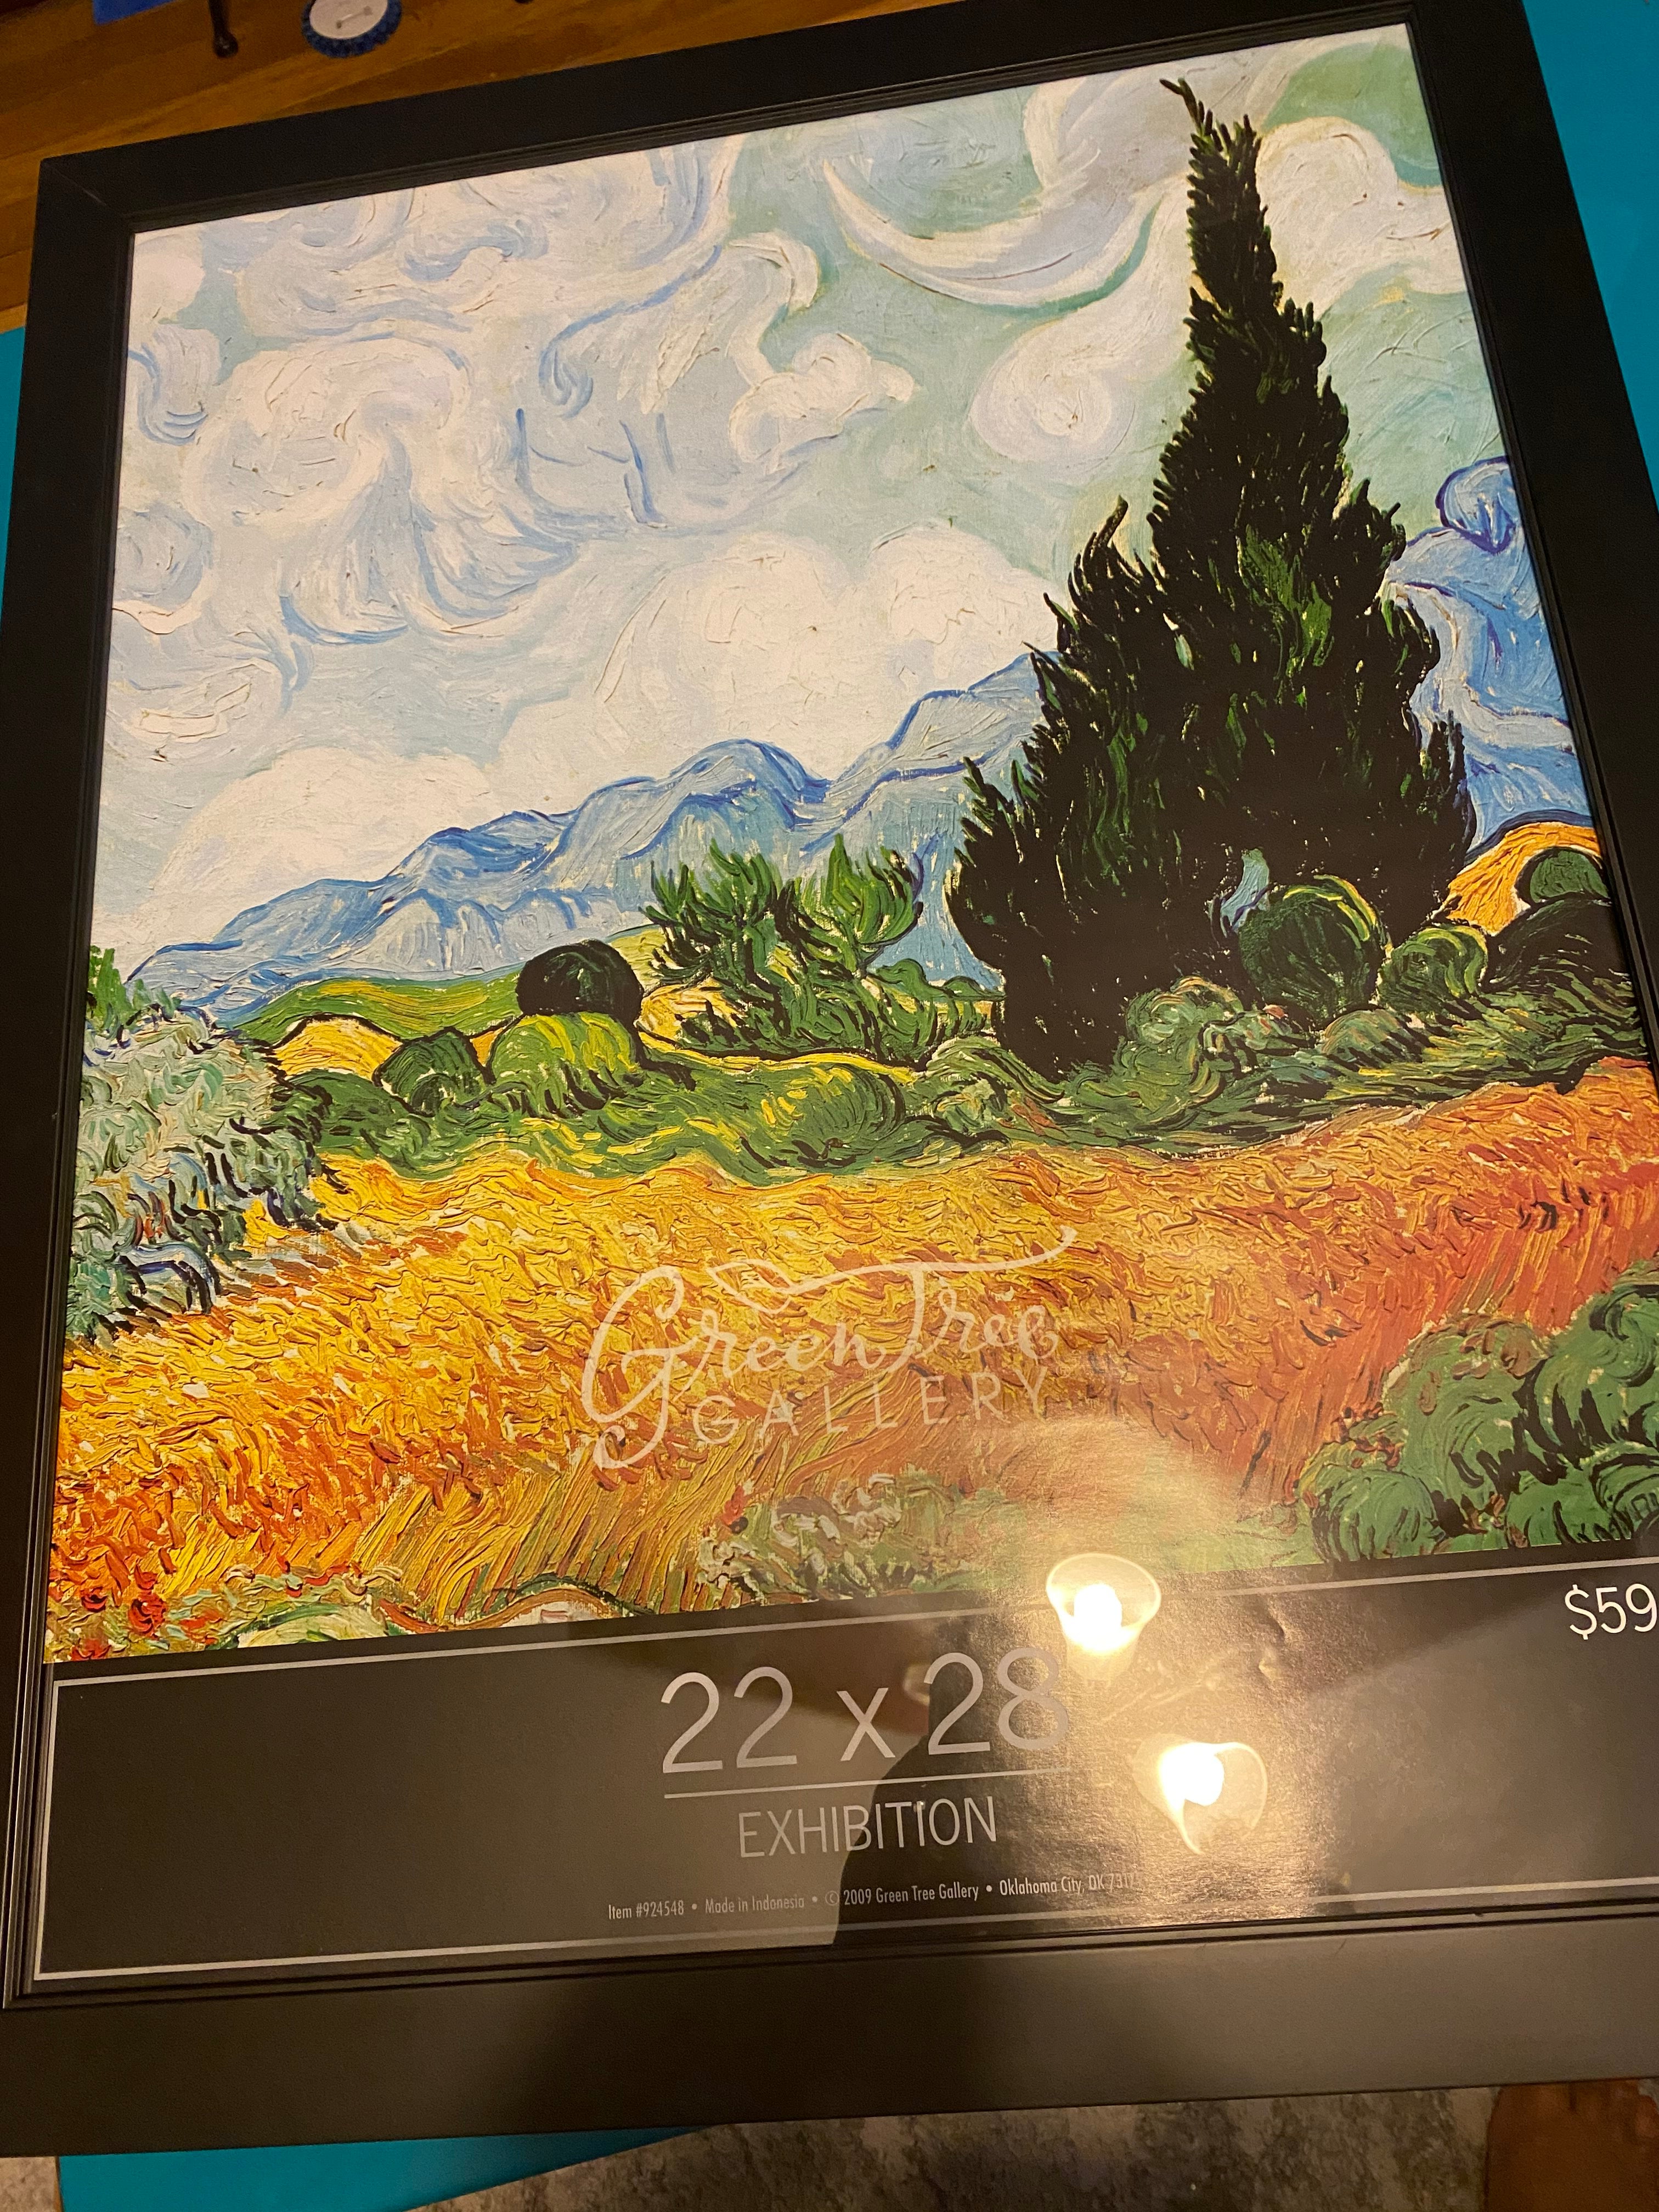
We decided on a 16×20 print matted in a slightly larger frame. I found a frame that matched another frame in the room. The problem now, was that I could not find a premade mat to fit the frame I purchased so I would have to cut my own mat. I felt slightly confident that I could cut this mat, but I didn’t know how accurate it would be. At least I had a plan, right?
Let me be the first to break the news to you, there will be no magical tricks today.
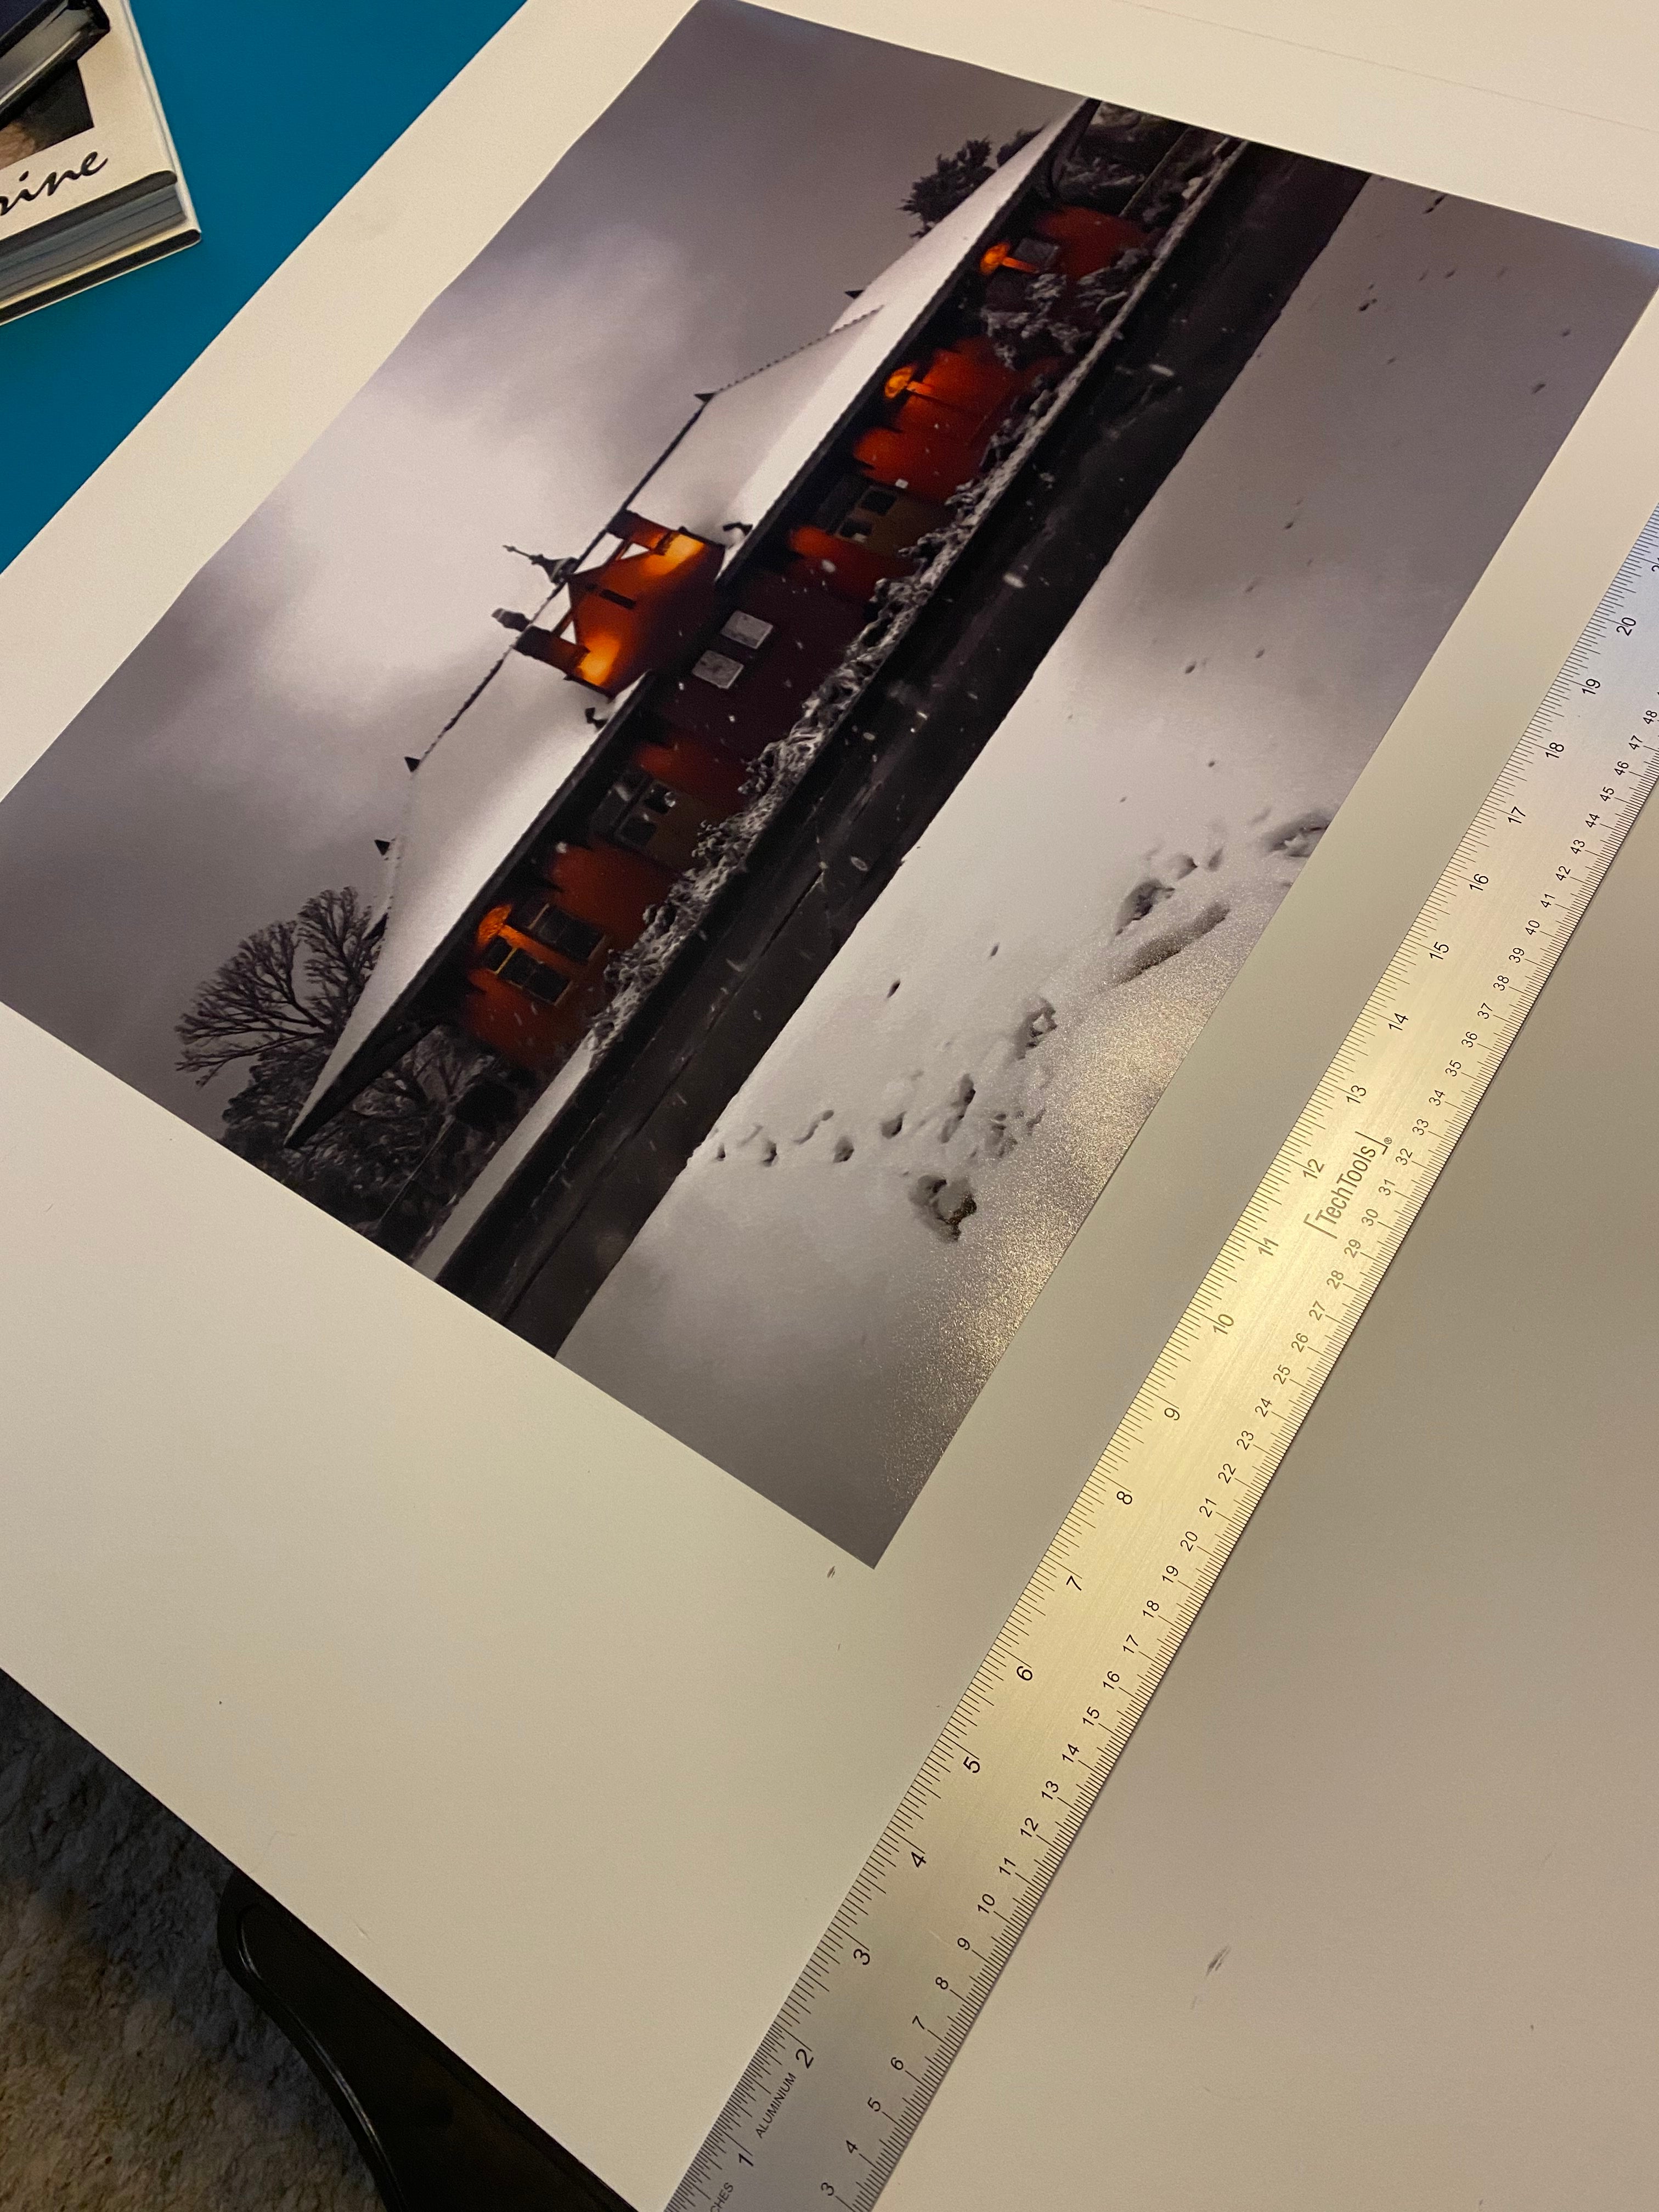
I removed the glass from the frame I purchased. I lined the corner of the glass up with the corner of the mat board. You want to make sure that each side is flush with the mat as well. Hold the glass firmly in place and trace it with a pencil. I purchased a metal ruler and a box cutter to allow me to cut a straight line. Line the ruler up with the pencil line and use the blade to cut along the pencil mark. Apply and decent amount of pressure to make sure you cut through the board. You will be left with a mat and glass that are the same size.
Now we move on to the metric system. We have a print that is 16×20. I had to cut an opening 15.5 x 19.5. Remember you can cut it slightly smaller if you choose to. You will decrease the amount of the print you see. The shortest side of the mat board was 22 inches so that means you need to subtract 15.5 from 22. This leaves 6.5 inches for you to divide in half. Measure over 3.25 inches from each edge and make your mark. Repeat this step for the long and then use the metal ruler to draw a straight line and then use the ruler to guide your cut.
Now that your opening has been cut, you will need to remove the piece that was cut. Lay your print face down on the mat and secure it with tape. You are ready to frame the matted image now.
Let’s face the fact that no task is too big to keep you from attempting it.
OrangeYouBold…yes I am.


