Master Gardener tip — See how daylilies thrive in Texas summer heat
Published 12:24 am Thursday, May 5, 2022
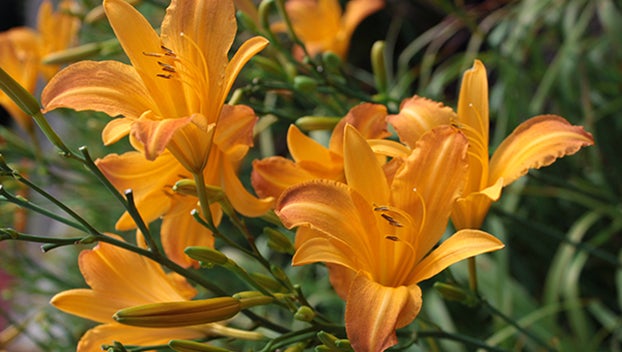
- Traditional daylilies are seen. (Image courtesy old house gardens)
|
Getting your Trinity Audio player ready...
|
How many of you remember your grandmother’s yard having large clumps of bright orange or yellow daylilies?
The daylily plant family group, known as Hemerocallis, has significantly increased since the time of your grandma’s daylilies. The American Hemerocallis Society now has more than 90,000 registered daylily cultivars and with new cultivars being added every year.
Daylily flowers are unique and are characterized by flower form (type), fragrance, bloom time, blooms per plant, flower color (all shades except true blue), hardiness zone and petal markings.
Growing daylilies are easy. Simply provide them with well-drained soil with consistent moisture and they will provide you with a profusion of non-stop blooms for a month or longer, depending on the variety.
By watering them weekly, making certain they receive a couple of inches of water will help them during times when rainfall is scarce.
Daylilies are readily available from many sources and can be purchased locally from daylily farms, online retailers such as Etsy.com, as well as through mail order catalogues.
Daylilies are often shipped “bareroot” or packaged in peat moss. If purchased locally, they are sold in 4-inch or gallon sized nursery pots.
Upon receiving your daylilies, regardless from where they were purchased, even if they are in a nursery pot, you should inspect the roots, checking for dehydration. Soak the roots (or pots containing daylilies) in water for at least one hour or longer, adding just a small amount (8th tsp or less) of liquid plant food before planting.
Mail order and online retailer plants especially need this little bit of extra assistance to ensure the plants’ success. If you are in doubt as to whether the roots are dehydrated, give your new daylilies a soak, you will certainly be rewarded for doing so!
If ordering daylilies from an online retailer or via mail order catalogue, late winter is the best time to do so, as you can plant in the spring and give them a full season to grow, developing a good root system before blooming.

Bare root daylily packaged and soaking before planting. (Image courtesy Garden Gate Magazine)
Once the roots have been inspected and soaked, they are ready for planting. Daylilies are best grown in full sun and planted in small mounds, slightly above the ground level.
Dig a hole as deep as the crown of your daylily (the area of the plant where the bottom of the leaves meets the roots).
Once the soil is loosened, add compost which will aide with aeration and then mix well. Build a small mound up to the plants’ crown, then loosely pack the amended soil around the roots.
Water frequently with enough water to keep moist until new growth appears.
Daily removal of the previous day’s blooms from your daylilies each evening is a great way to keep your daylily looking good and your garden tidy.
Daylily blooms only last for one day and by removing spent blooms, you are clearing the way for tomorrow’s flowers, while enjoying the fragrance of today’s blooms.
Caring for daylilies nutritional needs is done twice yearly and the easiest way to remember when to “feed” them treats – Halloween and Valentine’s Day since both holidays centered around candy! Feed your daylilies a good nitrogen-based food such as Milogranite® with a cup full sprinkled on each clump just like adding seasonings to food.
By John Green, Texas Certified Master Gardener with Orange County Master Gardeners. If you have specific gardening questions or need more information, contact the Orange County Master Gardeners Helpline, 409-882-7010, or visit txmg.org/orange, Facebook: Orange County Texas Master Gardeners Association or email extension@co.orange.tx.us.