OrangeYouBold: Christmas DIY décor on a budget
Published 12:39 am Wednesday, December 9, 2020
|
Getting your Trinity Audio player ready...
|
Hello beautiful people. We are in the thick of the most wonderful time of the year. Have you completed your decorations? The great thing about writing this column is that I get to decorate something every week. I try to create something simple and beautiful that you can duplicate. Today’s world gives us vast access to crafts and creations on a budget. I am keeping it simple this week and going with an old favorite of mine.
The first time I did this craft was at our annual Christmas party about three years ago. We rented the beautiful Train Depot in downtown Orange, Texas. Our parties typically have a laid-back vibe where we eat and conversate. I thought an activity would be a great idea that year and this was the inspiration for this week’s project. You know how I absolutely love a good giftbag project, because the artwork is already finished. Giftbags are fun, unique and sturdy.
I was shopping in the mall for a gift for one of my daughter’s teachers and stumbled upon an elegant giftbag. This bag was so perfect I decided to buy two of them.
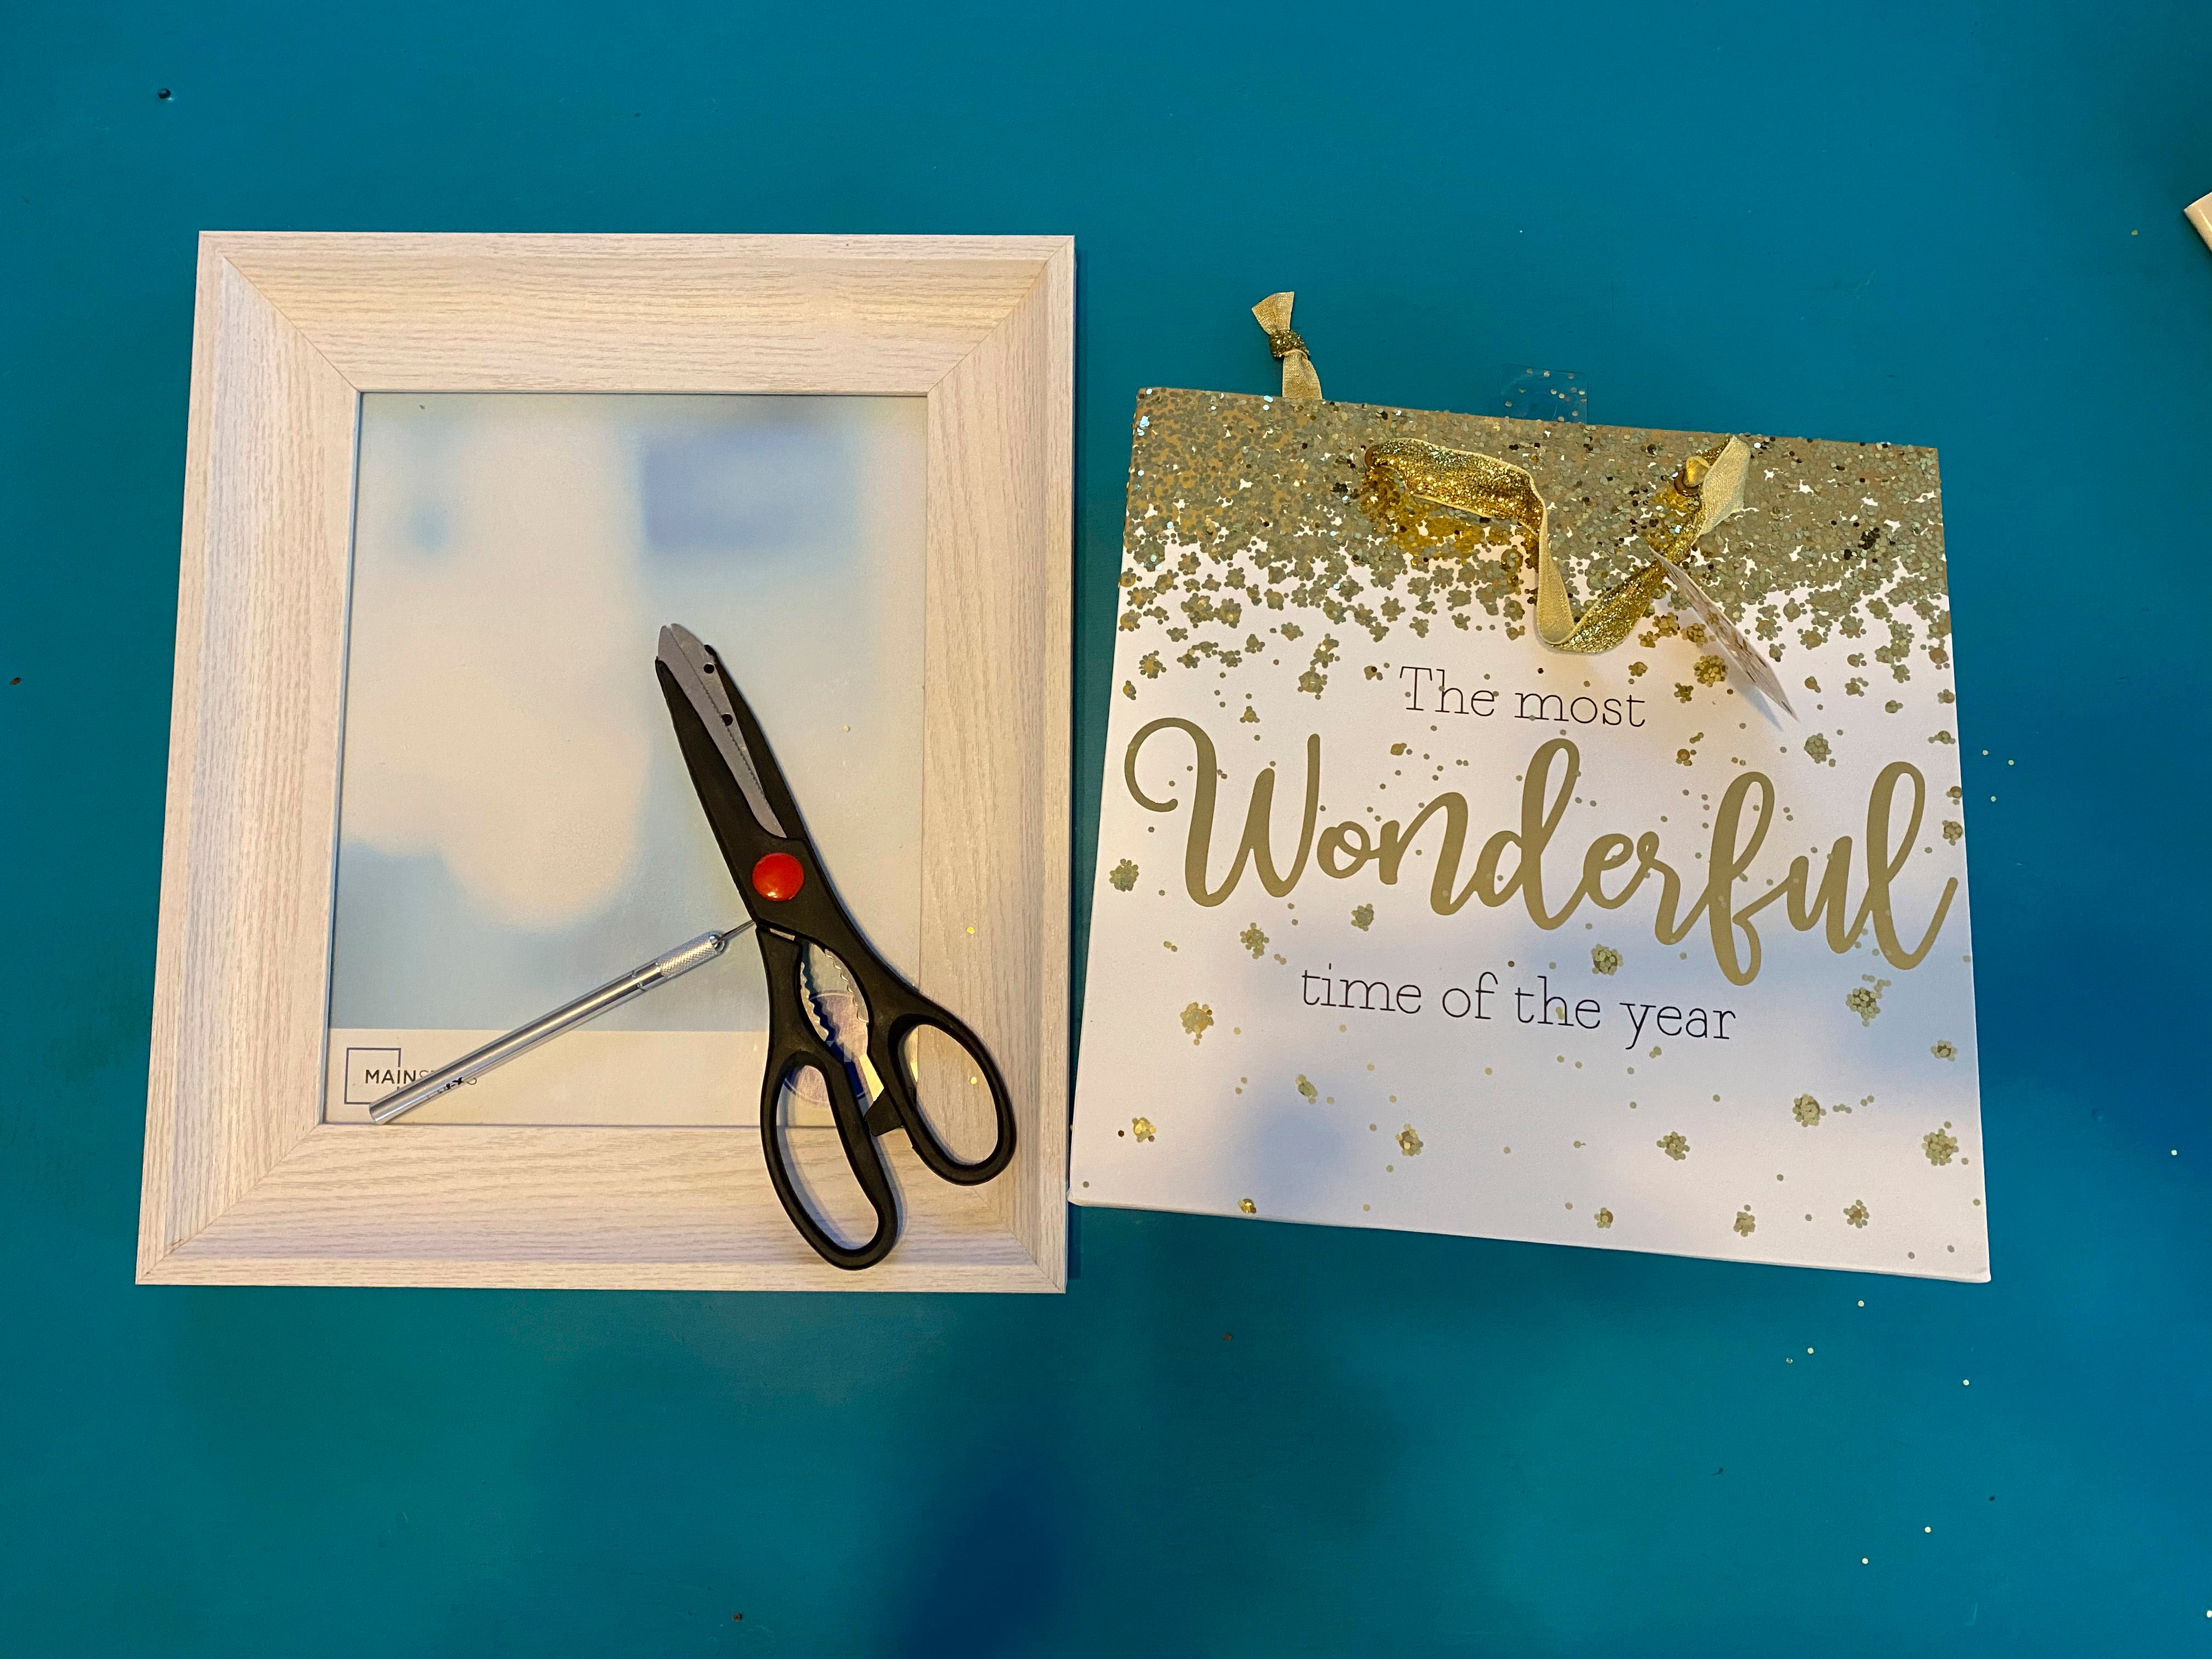
You will need a giftbag, picture frame, scissors and craft knife for this project. If you do not have a craft knife you can get by with only scissors. You will start by opening the giftbag and cutting it down the seam on each side and then across the bottom. This will leave you with two equal pieces. Most giftbags have the same image on both sides so that means you can make two projects if you choose to. You will just need a second frame. See the photos for reference. Once I have cut my bag, I lay the glass from the frame on top of the gift bag and get it centered. I use my craft knife to score around the glass frame. I use my scissors to make the cut permanent where the score lines are. Now you will do a little clean up if needed. In my project the top was cut off, so I removed the ribbon and the tag to embellish the project later.
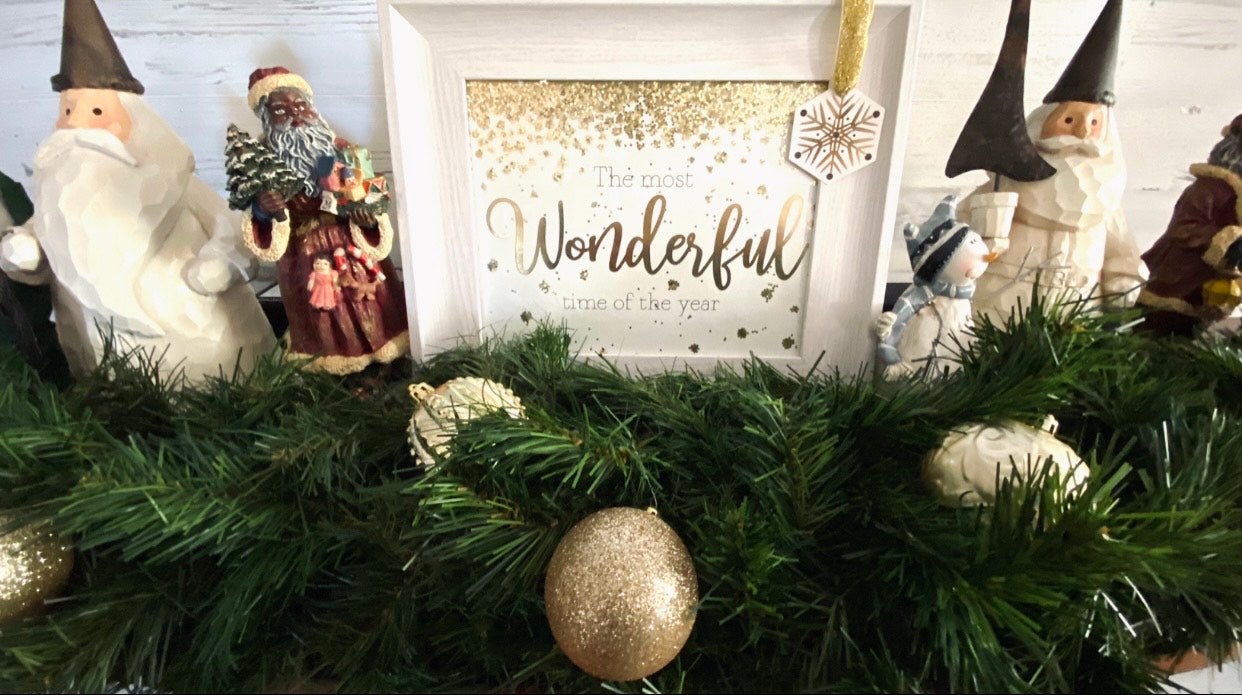
Frame your gift bag and attach the back of the frame. I attached the ribbon and gift tag to the top of my frame for an extra touch. You can also attach a bow or some greenery to spruce it up. I really hope you enjoyed this project as much as I did. Keep striving to be bold in everything you do. OrangeYouBold…yes I am. Follow me on Facebook. You can email me at orangeyoubold@gmail.com


